Okay well this got started a while back and recently one of my LEDs crapped out on me so I decided that while I was changing it out I would take pics of how to do this, because its dirt easy.
The LEDs you need are from here
http://www.superbrightleds.com/cgi-b...nstrument.html
the B8 series, I used the High Power ones, the output is better, but the regular ones work fine too.
02-05 have 11 leds behind there, 06+ have only 5 so order appropriately and make sure to buy a few extra JIC.
Okay so I am assuming you know how to pop off the radio bezel so take that off. Next thing is to pop off the AC vent/headlight switch trim to the left of the steering wheel, just pull there are no screws here (the panel under the steering wheel should all-ready be pulled down because you took off the radio bezel). Move the steering column all the way down to give yourself more room. Put on your parking brake, and put the gear selector down to the lowest gear so thats out of the way.
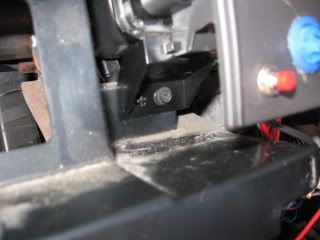
Okay so now we need to take off the plastic trim piece that surrounds the dash cluster. This is held on by two screws at the top (phillips) and pressure clips at the bottom. Take out the two screws and pull gently from the bottom and it pops off and you can pull it right out.
Now to take out the cluster itself. This is held on by two screws at the top, and two at the bottom, all at the corners. Once these are removed the only thing holding them on is the wiring harnesses.
The two at the bottom
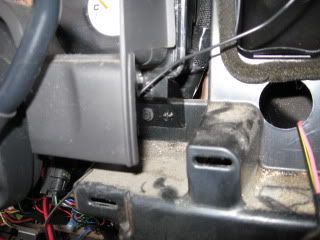
The two at the top. You will notice that once you loosen theses the cluster can slide out before they come fully out, best to just take em all the way out so you dont lose em.

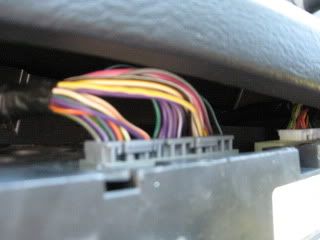
Okay so now you have the screws out but the wiring harnesses are holding that cluster in, well these can be a Pain in the rear so here is what they look like.
Left side
Right side
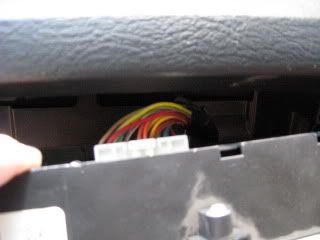
So what I recommend is to start with the left side, get those two out by reaching in there and pulling them up like any other harness. For the right side, slide that side of the cluster toward you because it is no longer anchored on the left, then pull that harness out, now you can take the whole cluster out.
This is what it looks like on the backside of the cluster.
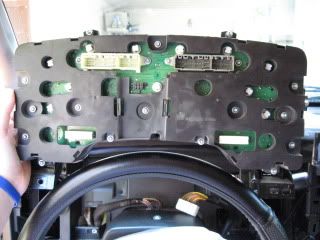
See all those white round things? Those are the lights, I was replacing my LEDs so those are leds in mine, the stock ones are flatter. Now the big black box in the middle with the sticker on it is the door chime module, that pulls right out and there is one more light hiding under it, sneaky I know.
Okay so now start at one side and start pulling out the old lights and pop in the new leds. You will see that the hole they go into has two notches on opposite sides, and the terminal connectors on the lights have silver contacts. Put in the leds with the contacts through those notches, and turn them TO THE RIGHT, all of them the same way, there is a reason for this. Once you have them all in, put the cluster back in the dash and re-attach the wiring harnesses.
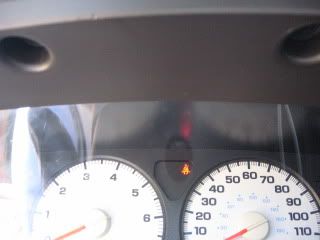
Next turn on your driving/parking lights. Damn! Some areas are not lit up! Well the leds are polar, meaning there is a positive and negative side. No worries, remember we turned them all to the right? Well take the cluster back out, remember which areas were not lighting up, and turn those suckers 180 degrees the other way. Now pop the cluster back in and make sure they are all lit up. Now that they are all lit up re-assemble the dash and enjoy the new look!


 Threaded Mode

